Posts

Beyond the Scarf - Purses

Image
Creating accessories for my dresses and tops are part of the enjoyable part of weaving, though currently, I haven't actually made a set. Sometimes, I have extra fabric leftover from other projects and need to create items for it. Clutch The above clutch was an example of leftover warp. I ended up using up the chenille weft for the warp, and still had close to 20" left on the warp which I didn't want to waste. Thankfully, I had some wool yarn which went with the warp and weft. Since I had wanted to experiment with Danish medallions again, I decided to use this warp for the experiment, though the wool didn't felt as much as I expected it would. This is an example of beautiful items made from little pieces of material. The material is too small for a scarf, but not useful for much of anything else. At this point, I tend to use the fabric to make purses. One thing to remember when using handwoven fabric for a purse is the need for a lining, otherwise items might ...

Handwoven Clothes - Patterns or no Patterns

Image
Last week, I showed you a dress from material I wove. This week, I'm going to focus on patterns versus no patterns. No Pattern To the right is a photograph of my sister modeling a dress I made from handwoven fabric. In this case, the dress was used with no pattern (i.e. I designed as I went). It is created using five panels, three of which are eight inches shorter than the other two. The longer panels form the front of the dress, and include the casing for the halter strap; the shorter pieces form the back and sides. Benefits For using handwoven fabric, it's fairly easy to say one major benefit is being able to simply design. Knowing how much fabric I had, I could divide the fabric into the panels, adding and subtracting as I went. This works out well when I have fabric, but not exactly certain what I want to do with it. Problems For this particular style of design, having a dressmaker's dummy is almost a necessity. It helped me by giving me a model that didn...

Beyond the Scarf - Clothes

Image
With summer right around the corner, one of the things I've wanted to explore is clothing. I had a photo of a poncho two weeks ago, modeled so graciously by my younger sister, but ponchos are good for spring and autumn, not so much for the summer. For summer, I always want something comfortable. I live in Western NY, and while we may not have the endless heat and humidity the South might have, it does reach into the 80 degree mark regularly. Add with that our bountiful sunshine, something lightweight and comfortable is a necessity. Handwoven garments (even on my rigid heddle loom at 12.5 dpi) are perfect as seen in this photograph below: Green Striped Summer Dress I normally work with plus-sized fashion, partly because that is where I fall in my own sizing, but also because I find little for the plus-sized woman who wants beautiful handcrafted items. While my sister isn't plus-sized, only a few adjustments were needed for the dress to fit her. This is one of beautifu...

Beyond the Scarf - an Overview

Image
Last week I mentioned the new series "Beyond the Scarf", and its focus on creating items beyond straight garments. Two Scarves, Wool and Cotton Scarves, of course, can be practical, useful items. I live in Western New York (near Buffalo), and a good scarf in the middle of winter is a valuable accessory, but I can only wear so many scarves at once, and with my coat, I only need one or two scarves, yet I enjoy weaving. Now, however, I'm working on ways I can move beyond simple scarves. Some of the items I've used scarf width (10" at the max) material for include: Dishcloths Runners Purses/clutches Totes Dress Coat Shirt Some of the items are easier to make such as dishcloths - all you need to do is cut them down so they form a fat rectangle. After the cloth is hemmed, it should form a square. Purses, clutches and totes are all easy to make as well, depending on how items are made. I often use my scrap fabric for clutches, but for purses and tot...

Summer's Coming

Image
Over the winter, I've been working on weaving up lengths of fabric, trying to decide what to do with most of it. Beginning on Tuesday, I'm going to start a new series called, "Beyond the Scarf." What I found frustrating when I was learning how to weave was the many 'beginner' projects included items I never used - table runners, table mats, scarves and other items. I've always enjoyed making my own clothes, and surprisingly, very little fabric is needed to make clothes. This poncho was made from cloth woven on a rigid heddle loom, but I've learned I can create other items that are both attractive and beyond the boxy cuts we usually associate with handwoven fashion.

Been awhile

It's been a crazy little while focusing on writing books, but I've been able to have some time to weave. Currently, focusing on producing lengths of material, primarily for scarves. Over the past year, I purchased a bunch of cones of yarn, and while I used most of them, I have some half-filled cones of yarn. To that end, I've been working through the yarn to see what I can create. It's proved interesting seeing how I can use the yarn. Unfortunately, it seems when I finish the warp, I need more yarn for the weft. Such is the problem with weaving. Also, I'm working on creating cotton warp with chenille weft projects. It'll be interesting to see if I can use the cotton/chenille material for clothes. On a side note, the book I'm currently working on has a main character who is a weaver. Some of the items I'll be focusing on over the next few months is creating items connected to the book.

Wasting Yarn

Image
One of the things most weavers have after awhile is a collection of leftover yarn. It's easier to purchase cones of yarn, but I rarely use all the yarn for a project. Now I have bits and bobs of various colors. Not all the colors go together, but sometimes they do. In this case, since it's getting close to March, and I had a lot of green, I opted to play with the greens. Ended up emptying two more cones just in the warp. I chose a rich forest green as the primary color (both for the warp and weft). With the forest color, I alternated another four colors: serenity, olive, teal and sea green. Out of the five colors, serenity was the only one not technically green, but was actually a pale blue. You can see it in the photograph above (second color on the left). While weaving, however, the blue blends in with the other colors quite well. I put on about five yards of warp, which should turn into a couple of scarves, one of which could be extra long. I won't know for cert...

Teaberry Top

Image
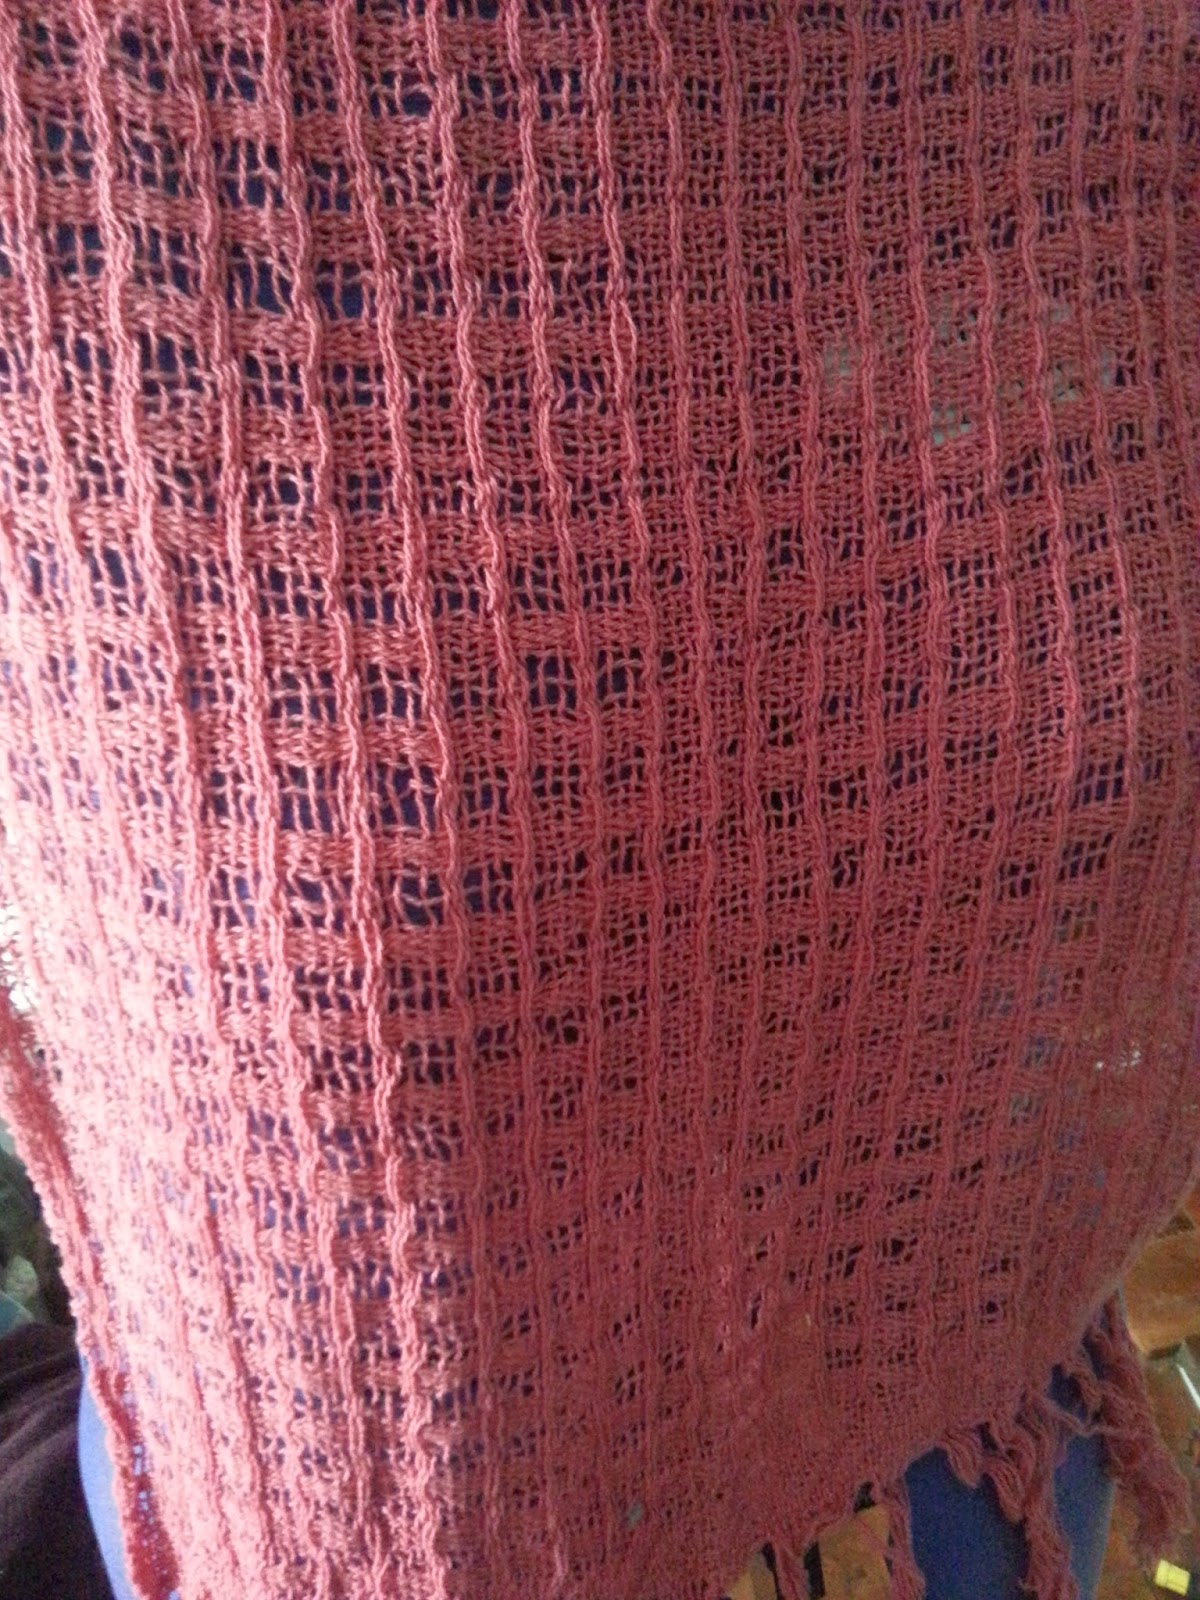
Two weeks ago, I warped up my loom with a new length of material. Weaving the lace at 10 dpi left an open and airy fabric, very lightweight and beautiful. As you can see, it is rather open, though not as much as I thought it would be. I have about six yards of material. Four of the pieces I wove off at shorter lengths, intending them to be made into a skirt later. What I hadn't expected was the shrinkage after washing the material. What was originally about twenty-four inches shrank to a little over eighteen inches. Yet, despite the surprises, I think this will wind up making beautiful garments. I think it would make a good summer top, or with a contrasting layer underneath, it would make a wonderful gown or skirt. I look forward to see what I can use this material for, and how it could be made with different materials.

Experiments

Image
One of the things I love about weaving is the ability to experiment. It's fun trying different fibers, weave structures and color combinations. Currently, I'm working on an open weave structure based upon weaves from previous designs. The original version was like the ones above: lace weave done in cotton at 12.5 dpi. I had woven something similar at a wider spacing (7.5 dpi) with cotton and wool. The photograph below shows what happens with wool and cotton.     What I wanted to discover is if the same process would work at a 10 dpi. In other words, would I be able to make an attractive fabric with a wider lace design? Ideally, the project will turn into a dress, but I'll have to see how it washes up first.   Hopefully, it will turn out somewhat like I thought it would be. 

New Years and New Plans

So I ended last year with a warp, a beautiful burgundy warp of chenille and cotton. My intention was to turn it into a tunic of some sort, but it ended up being a Christmas present. Ah well, sometimes things happen, I've learned. One of my biggest surprises for Christmas was receiving a dressmaker's dummy. Very excited about this because now I can start to design clothes with the material I weave up. I currently have material on the dummy as I write, but I'm still mulling over the design. I have great respect for fashion designers who can make beautiful garments for the masses. I'll post photographs later on. I hope everyone has a happy new year.

Sewing up the Warp

Image
Well, I finished the project. Turned out to be a shirt, and not a dress, however. Oh well. Lessons learned, right? Front of shirt Here's a shot of the front of the shirt. This was woven with 8/2 cotton at 12.5 epi (ends per inch) on my 12" loom. Actual weaving width on loom is around 11.5". Once washed, the material shrank to 10" wide. Overall, I had around one yard of the lighter colored material (that on top) and two yards of the darker material (that on the bottom). I use a mixture of peach, teaberry and rust colors to create the warp, but I only used peach and teaberry to weave. Coral was the lighter color and teaberry the medium pink in the shirt. Back of shirt What I discovered while creating the shirt surprised me. First of all, I it's surprising what you can make out of three yards of 10" material. As you can tell, I ran out of fabric for my sleeves. Second, it proved interesting putting the items together. It's definitely one o...

Done Weaving

Image
As part of the December challenge I made for myself, I finally finished weaving the fabric. Yeah! Now, it's waiting to go into the laundry. The next phase, of course, is designing the dress. Once the fabric is washed, I'll be able to see how much material I have. Currently, it's almost three yards, maybe a little more, but it will shrink once it is washed. No, the cones above are not the finished colors for the dress, but they are the next project. Each year I make the majority of my Christmas presents. My sister wants a throw blanket for her apartment, and the cones are the colors she chose. Honestly, the warp is beautiful, even if I did have to add an olive color to the mixture since I ran out of the 8/2 cotton yarn (the one on the right). Still, since the yarn I bought for her is a shade greener than the computer shows, it's turned out well. Do you make anything for Christmas, or do you purchase handcrafted items for friends and family?

A Challenge

Image
This month, a group called Dessember (check out the website here ) focus their attention on ending human trafficking. The point of Dessember is to raise awareness and money specifically for International Justice Mission. Personally, I think it's a brilliant way to do something besides raise awareness. Often times, myself included, all we're able to do is talk about human trafficking, but this is one way to do something tangible. After all, few of us will go on trips to rescue slaves or spot someone being trafficked in our community. Awareness, however, is important, and if that's all we can do, then proceed. Yet, I wanted to try something in honor of Dessember. For someone who hasn't worn dresses often since college, I don't have a lot of dresses neither do I have money to buy dresses. What I do have is material, some handwoven, and some store bought. This month, my goal is to make one dress from handwoven material. Not the material in the poncho above, bu...

Slow Going

I have to admit, any time I can weave is a good time (unless I'm dealing with one of Helen the Loom's moods, but that's an entirely different situation). The past two weeks therefore, have been painful to say the least. First weekend in November, I ended up twisting both my knee and my ankle. Even for weaving on a rigid heddle loom, it takes you're entire body to weave. I realized I wouldn't be able to weave on the floor looms, but it never occurred to me I wouldn't be able to weave on the rigid heddle loom. I mean, there is no foot control whatsoever on the loom. Yes, but to keep the loom from wiggling around as I wove, I needed to keep both feet on the base, and apply pressure. Thank God I'm able to walk without crutches and apply a little pressure to the loom. I have Christmas presents to weave. Over the remainder of this year, I'm going to focus a little bit more on clothing design instead of just accessories. We'll see how it goes, but i...

Going on a Hiatus

Not an official hiatus, just a sorta hiatus. I'm going to post-pone putting up the Monday Moods for a little while as I gather up more ideas. Never fear, I'll add some more eventually, but I'm working on another project at the moment, so being able to go outside to find inspiration has been diminished. As the items develop, I'll be sure to let you know. On a side note, I'm currently working on projects to connect handwoven items with store-bought fabric. Not certain if it will be entirely handmade (i.e. cutting out the pieces and the like) or up-cycling other items found at thrift stores. We'll see; it should prove interesting.

Retaining Ideas

Image
One of the hardest things I do is not so much difficult as it is not a habit ... yet. What is this, you ask? Keeping a journal. The Swatch Journal A journal?! If you've visited here on a regular basis, you'll probably remember I'm also a writer by profession (check out the blog, here ) Subsequently, writing should be something I do naturally, but it isn't. The primary reason is simply the process involved with writing the journal. Today, I'm going to focus on three different journals a weaver keeps: a swatch journal, idea journal and finished projects. For each of these, you'll need a journal, pen, pencils, glue and whatever else you want to make the journal yours. The journals may be a book, like the ones I'll show in here, or they can be a notebook, or even a file on your computer, tablet or phone. Swatch Journal or the Weaver's Journal This journal, like the one shown above, is a record of what I've woven. In this journal, I keep a r...

Monday Moods - Black Walnut

Image

A Halloween Scarf

Image
Not much going on today in regards to weaving, so I wanted to let you see a beautiful Fibonacci scarf in black and orange.

Color Palettes - Warping

Image
Last week, I focused on creating a color palette from color inspiration to choices of yarn. Today, I'm going to focus on ways to set up the warp. To begin, there are two ways to measure the warp for a loom: indirect and direct. Warp in Heddles For my floor looms, I use the indirect warping method. This means simply that I use a warping board to measure my warp. The warp is then taken off the loom and put onto the loom which is called dressing  the loom. Warping Board For my rigid heddle looms, I use the direct warping method. For this, I place my loom the length of my warp away from my warping pole. When I dress the loom, I also measure my warp. Both have their advantages and disadvantages, and it depends on which loom I happen to be setting up. I tend to design in the dressing process for my direct warping method, however for my indirect method, I have it planned out. The primary reason for the differences is when I design for the floor looms, I usually have worked o...

Color Palettes - Yarn Choices

Image
On Wednesday, I introduced the concept of creating a color palette. Today, I'm going to focus on the next step: choosing yarns. Once you have the palette, you need to choose the yarn or fabric based upon the theme. If your local store doesn't have colors available, the Internet often provides a good choices as well. For me, I like using my local weaving store's yarn supply, so while I have a palette available, it is often a guideline for the colors. In the Rocky Weed colors above, I don't have those exact colors, but I have a close proximity to each color.  One way you can expand your colors is by thinking a little outside the box of colors. For example, in the selection of yarn colors I have, I don't have any grays, but I do have blues and greens that would work for gray. The next step is to mix the yarns together. At this point, you can travel many paths, but two primary ones are whether or not to include textural inspiration from the photograph. In...